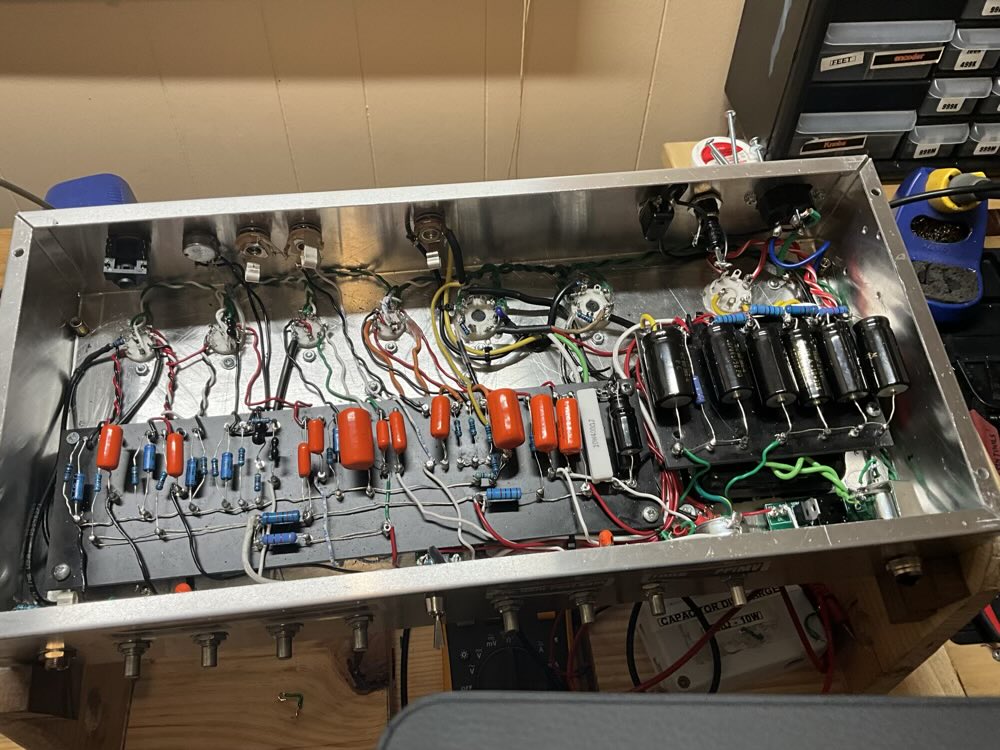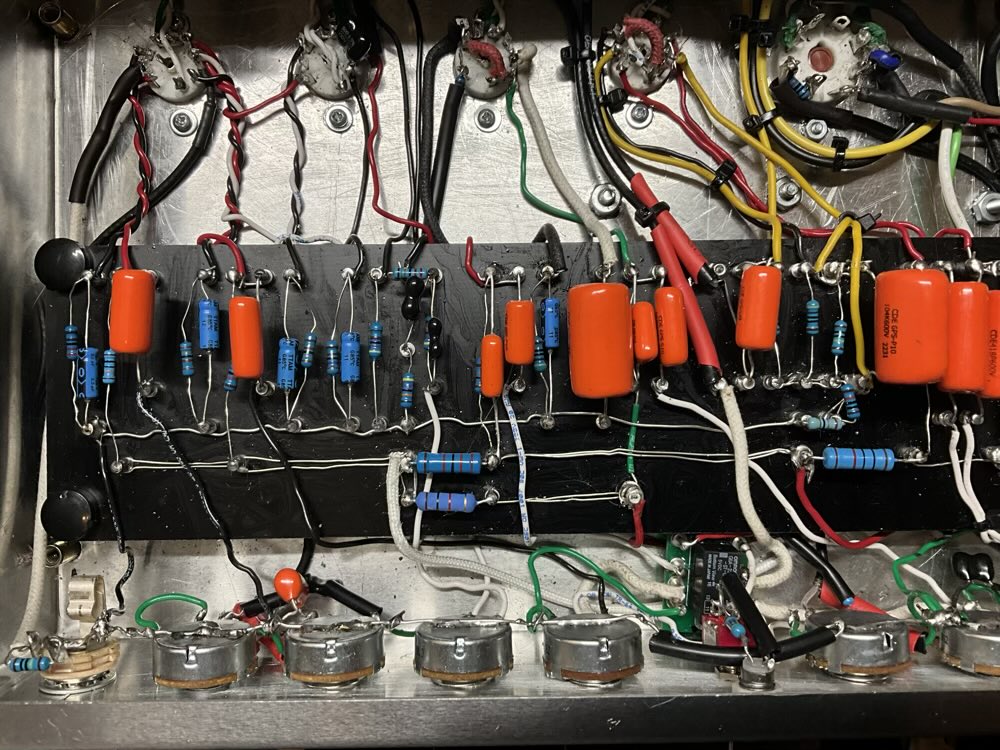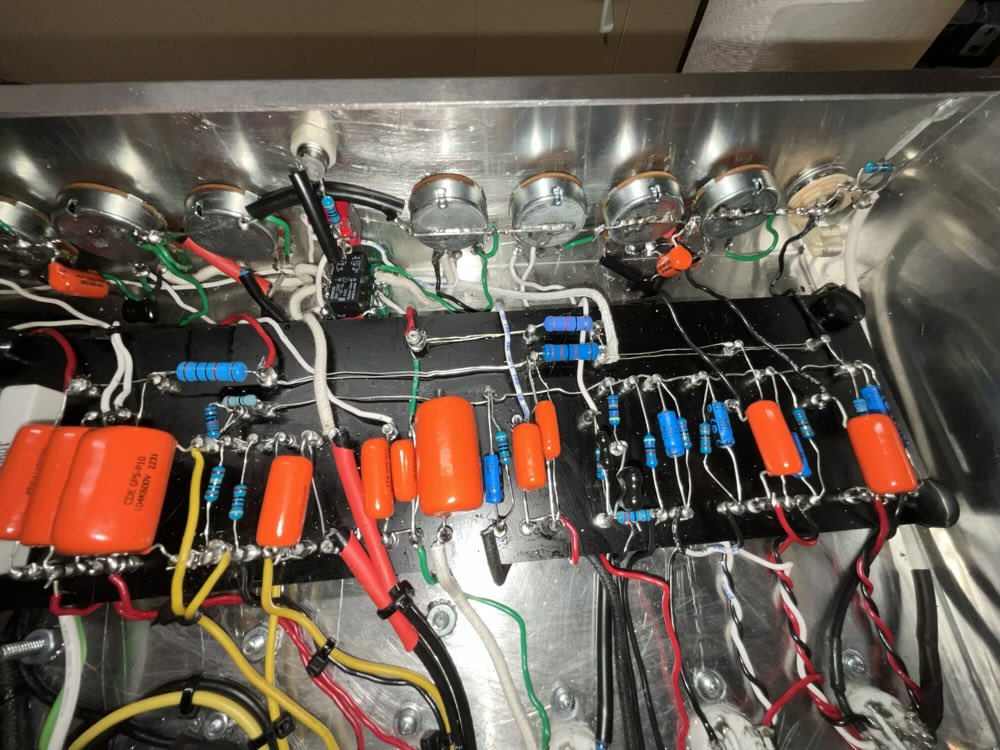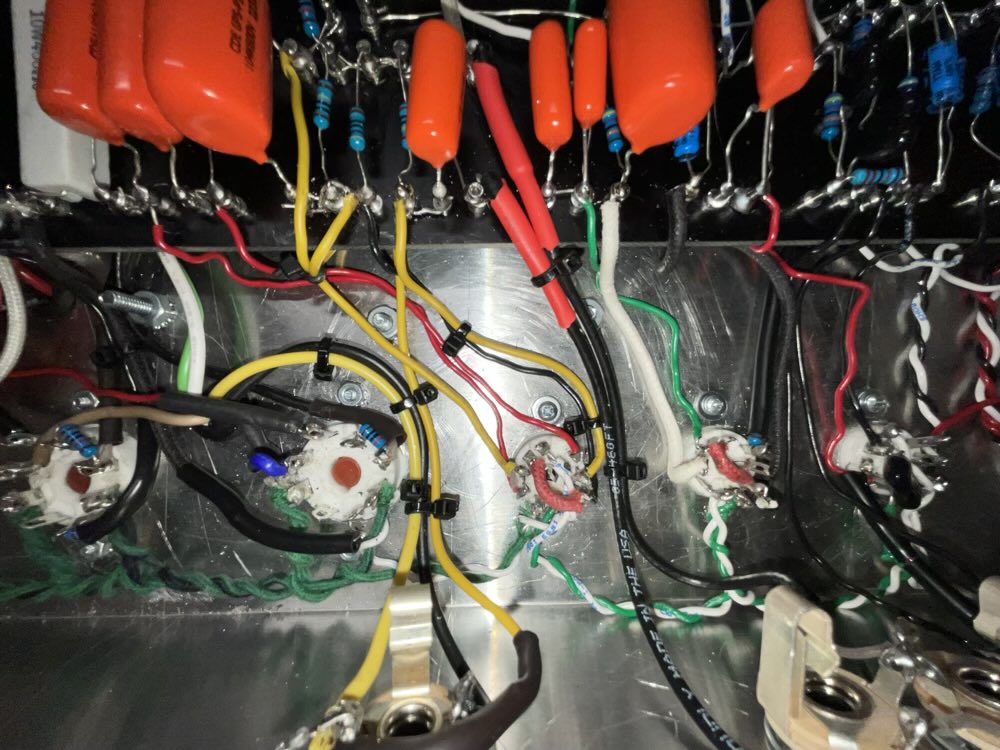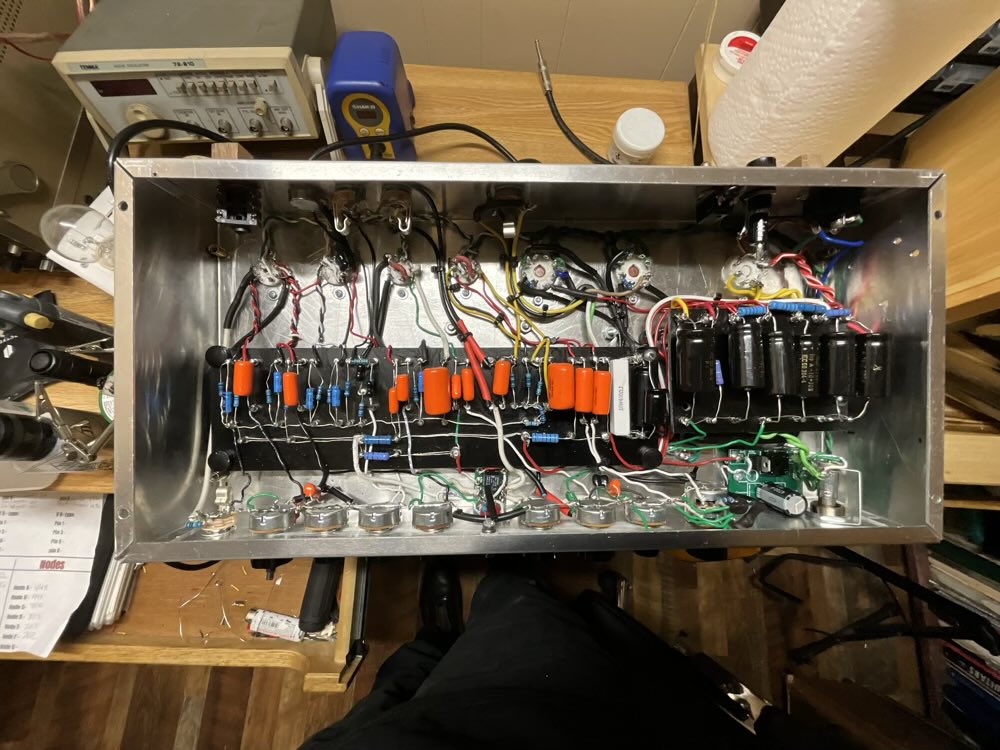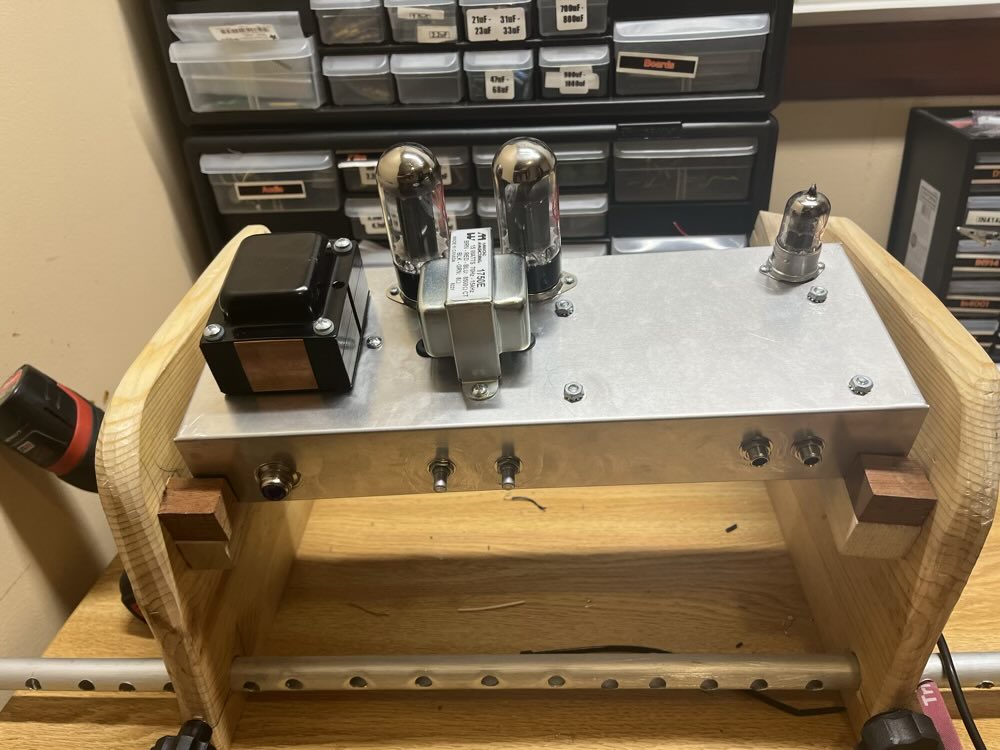
Tweed OverDrive Special
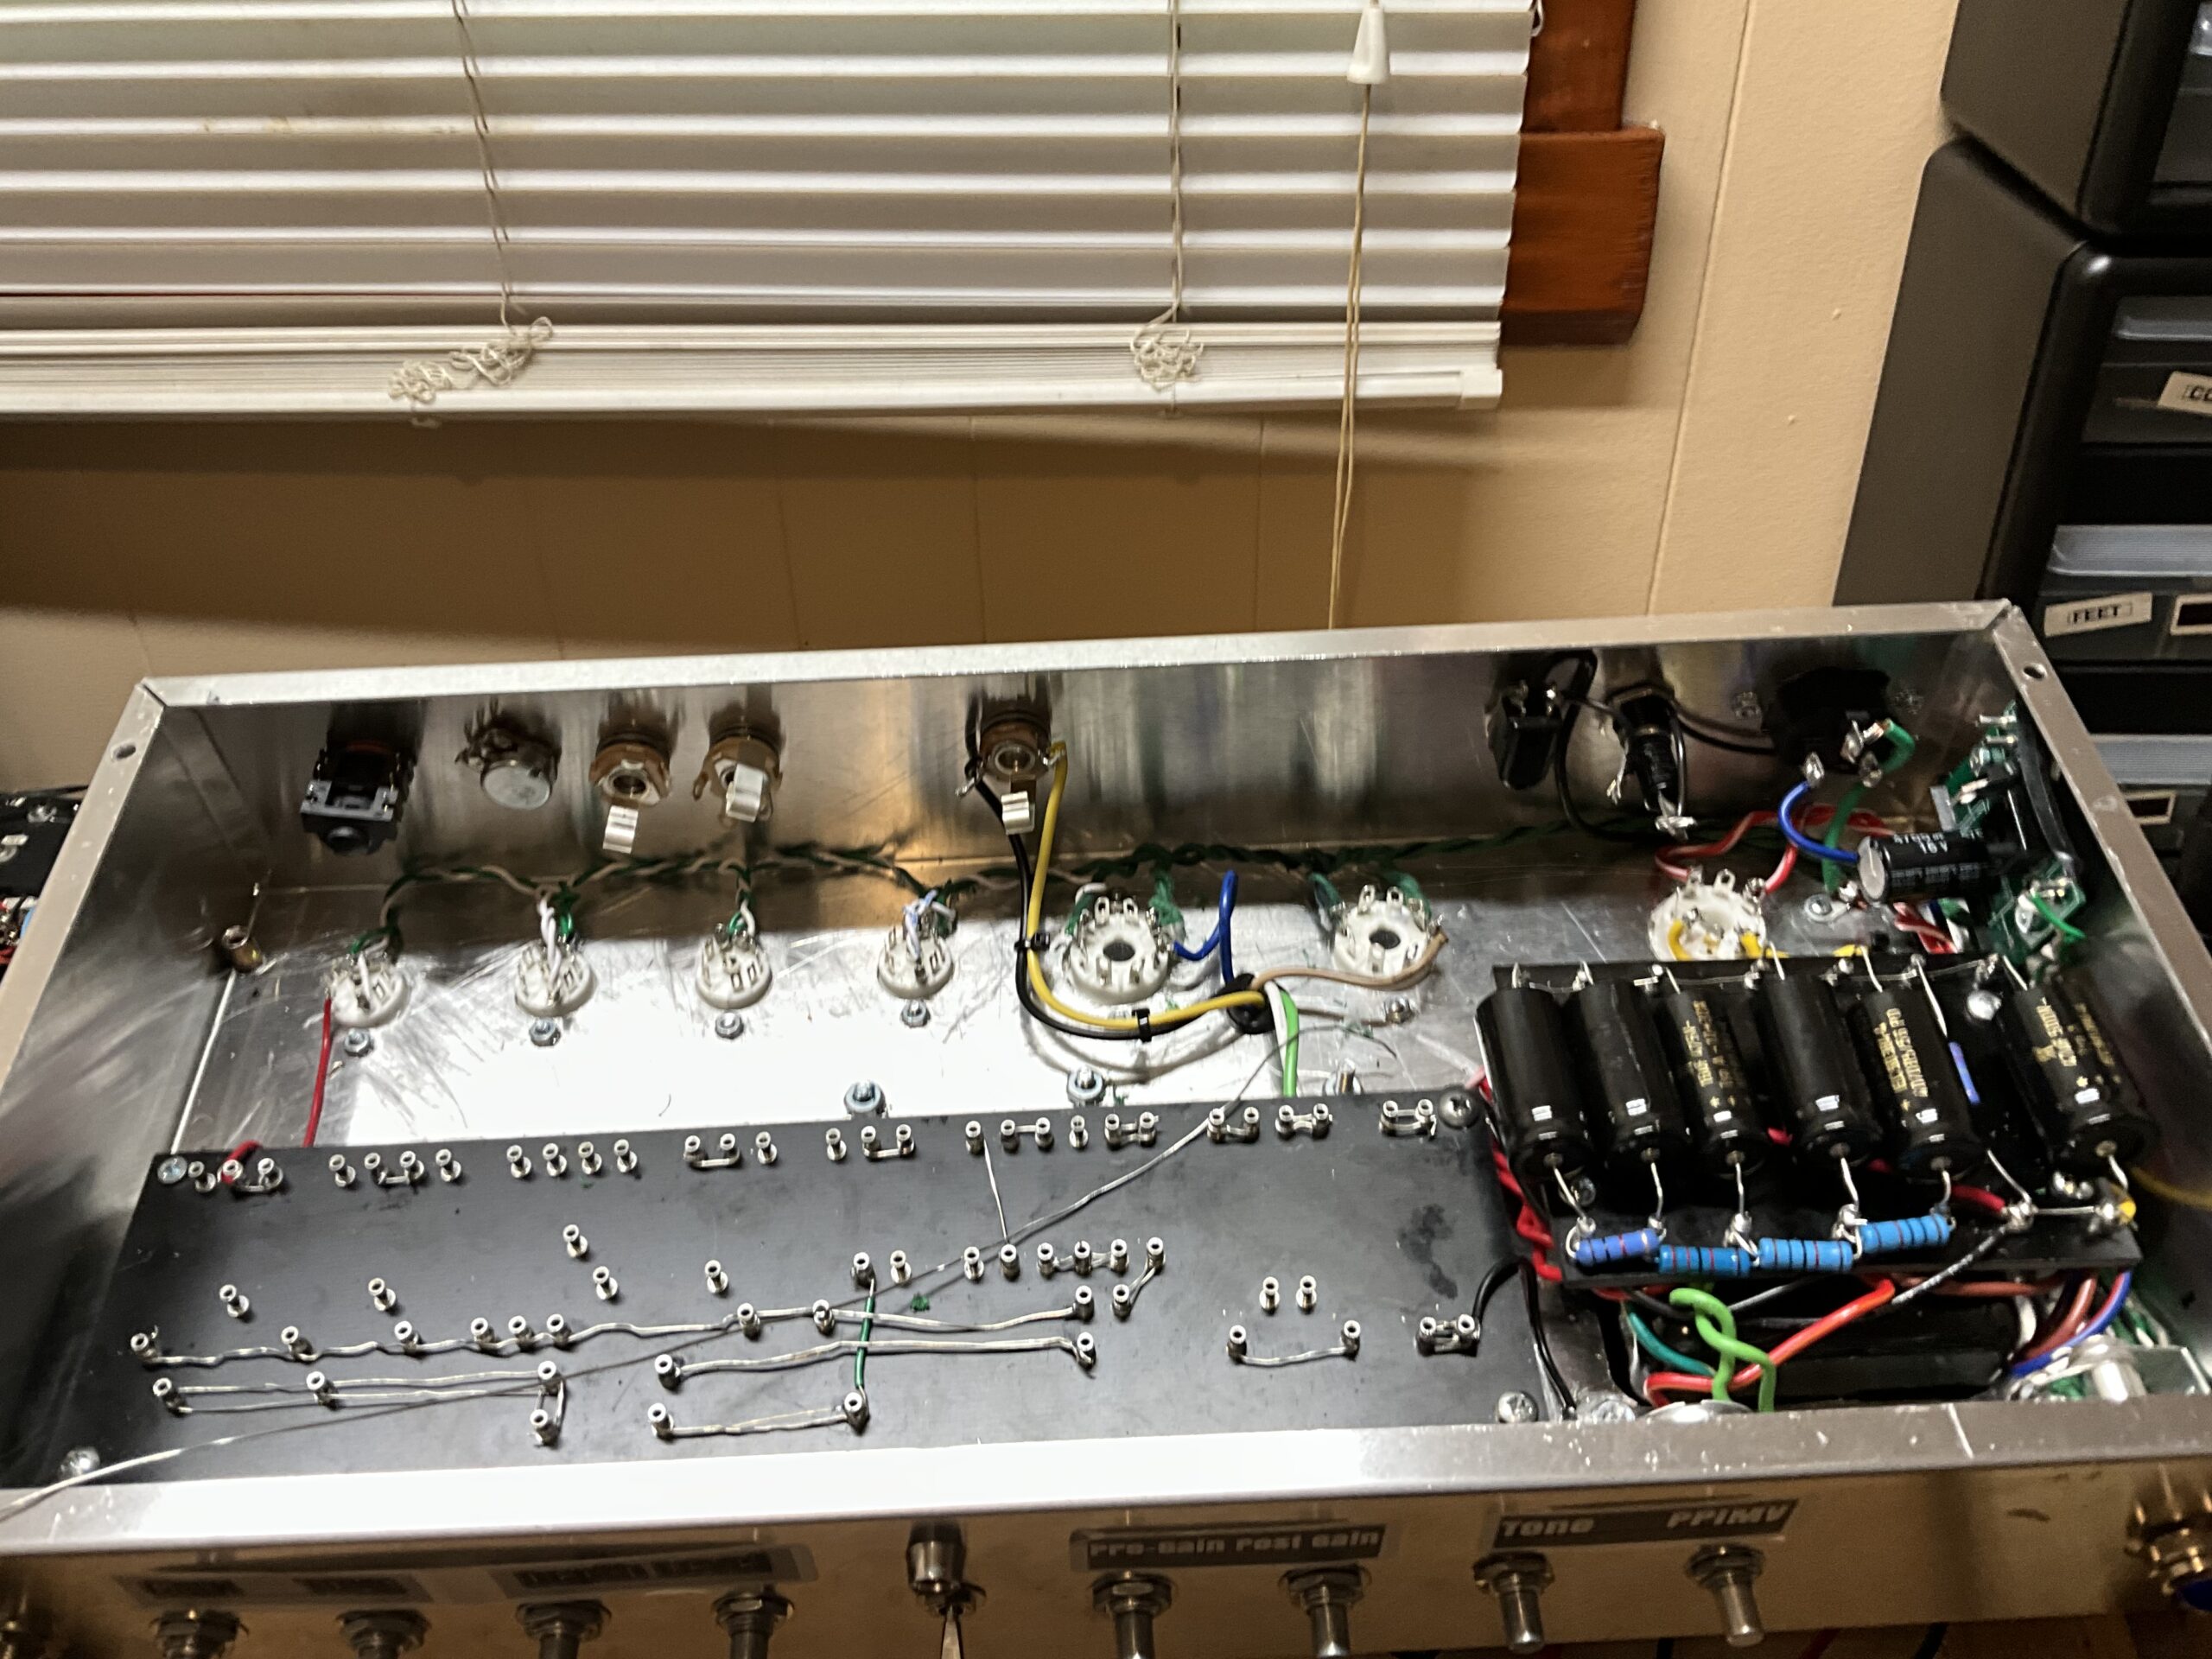
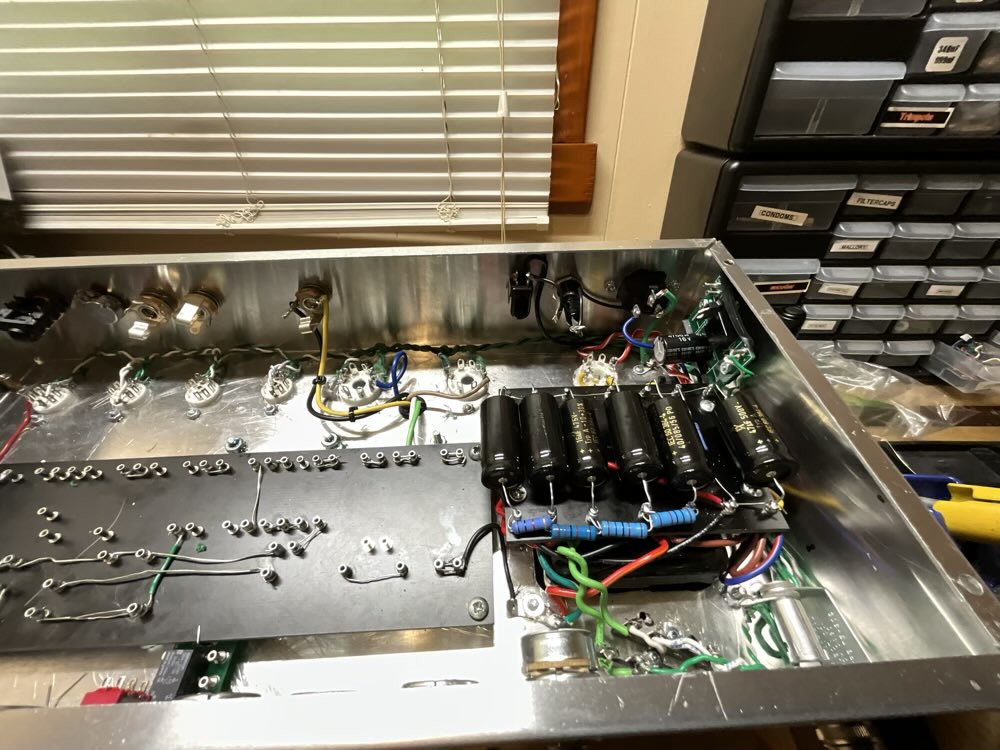
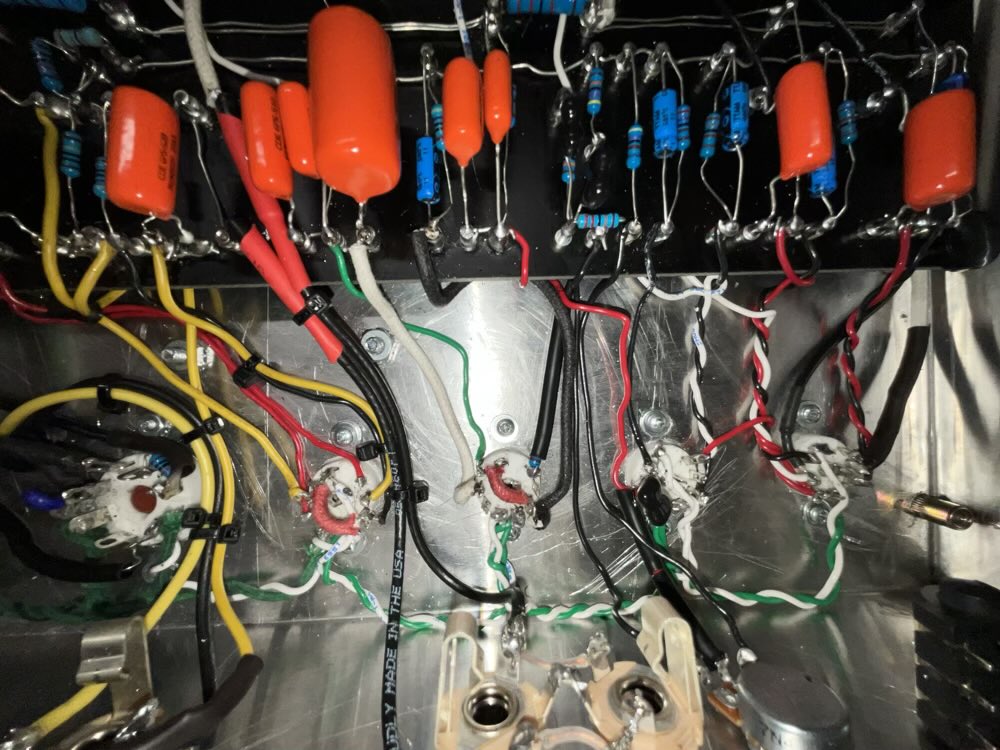
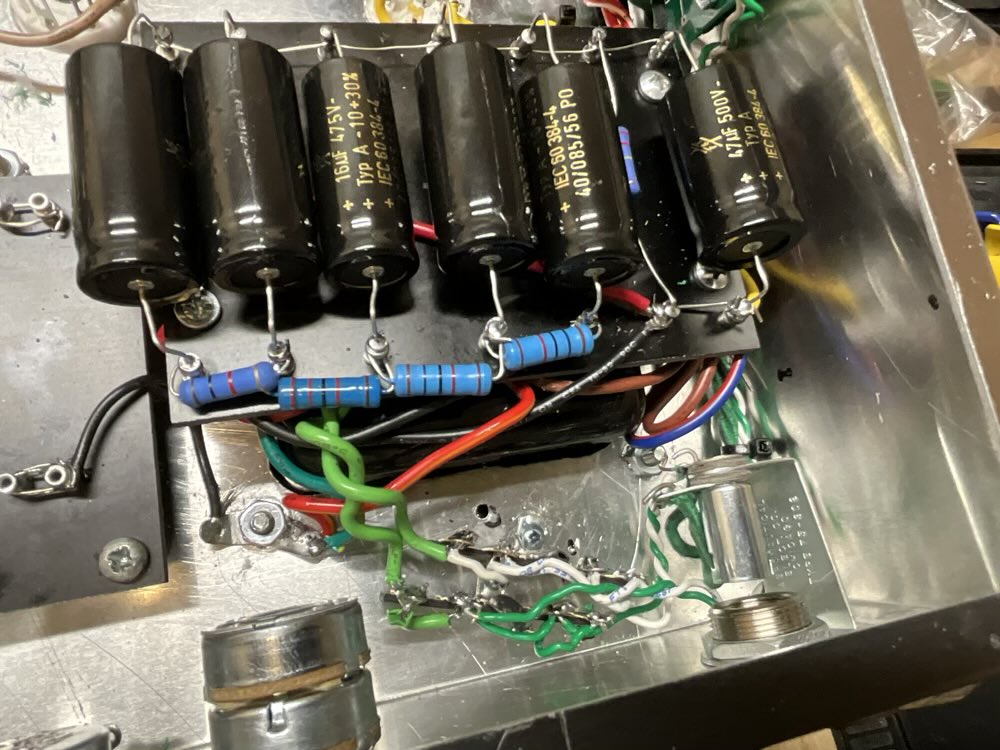
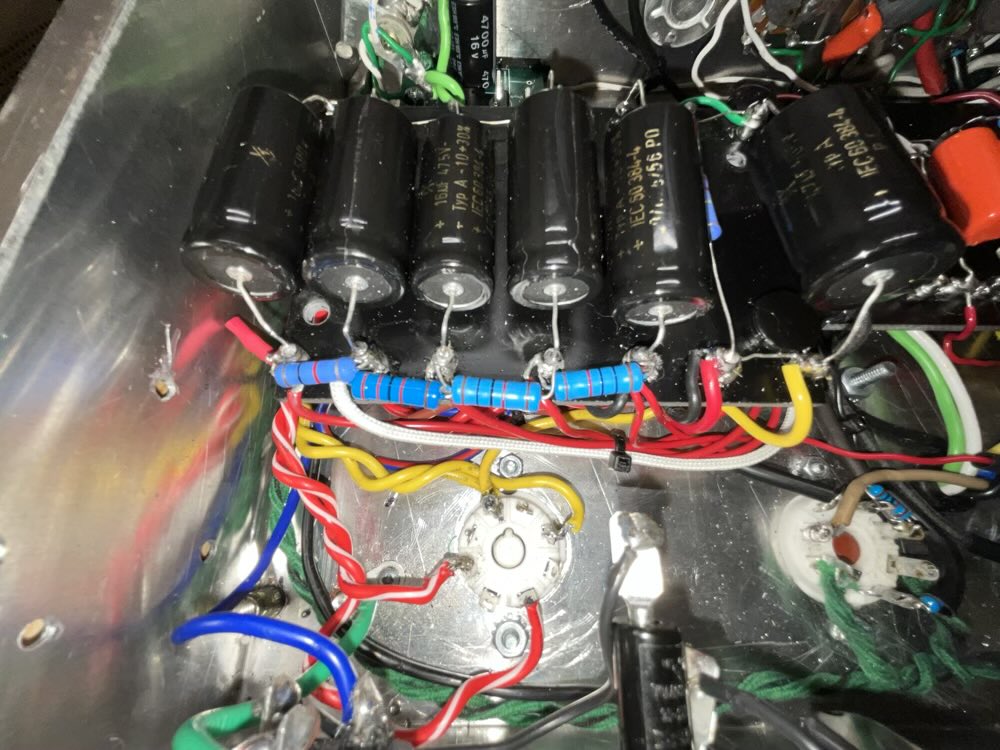
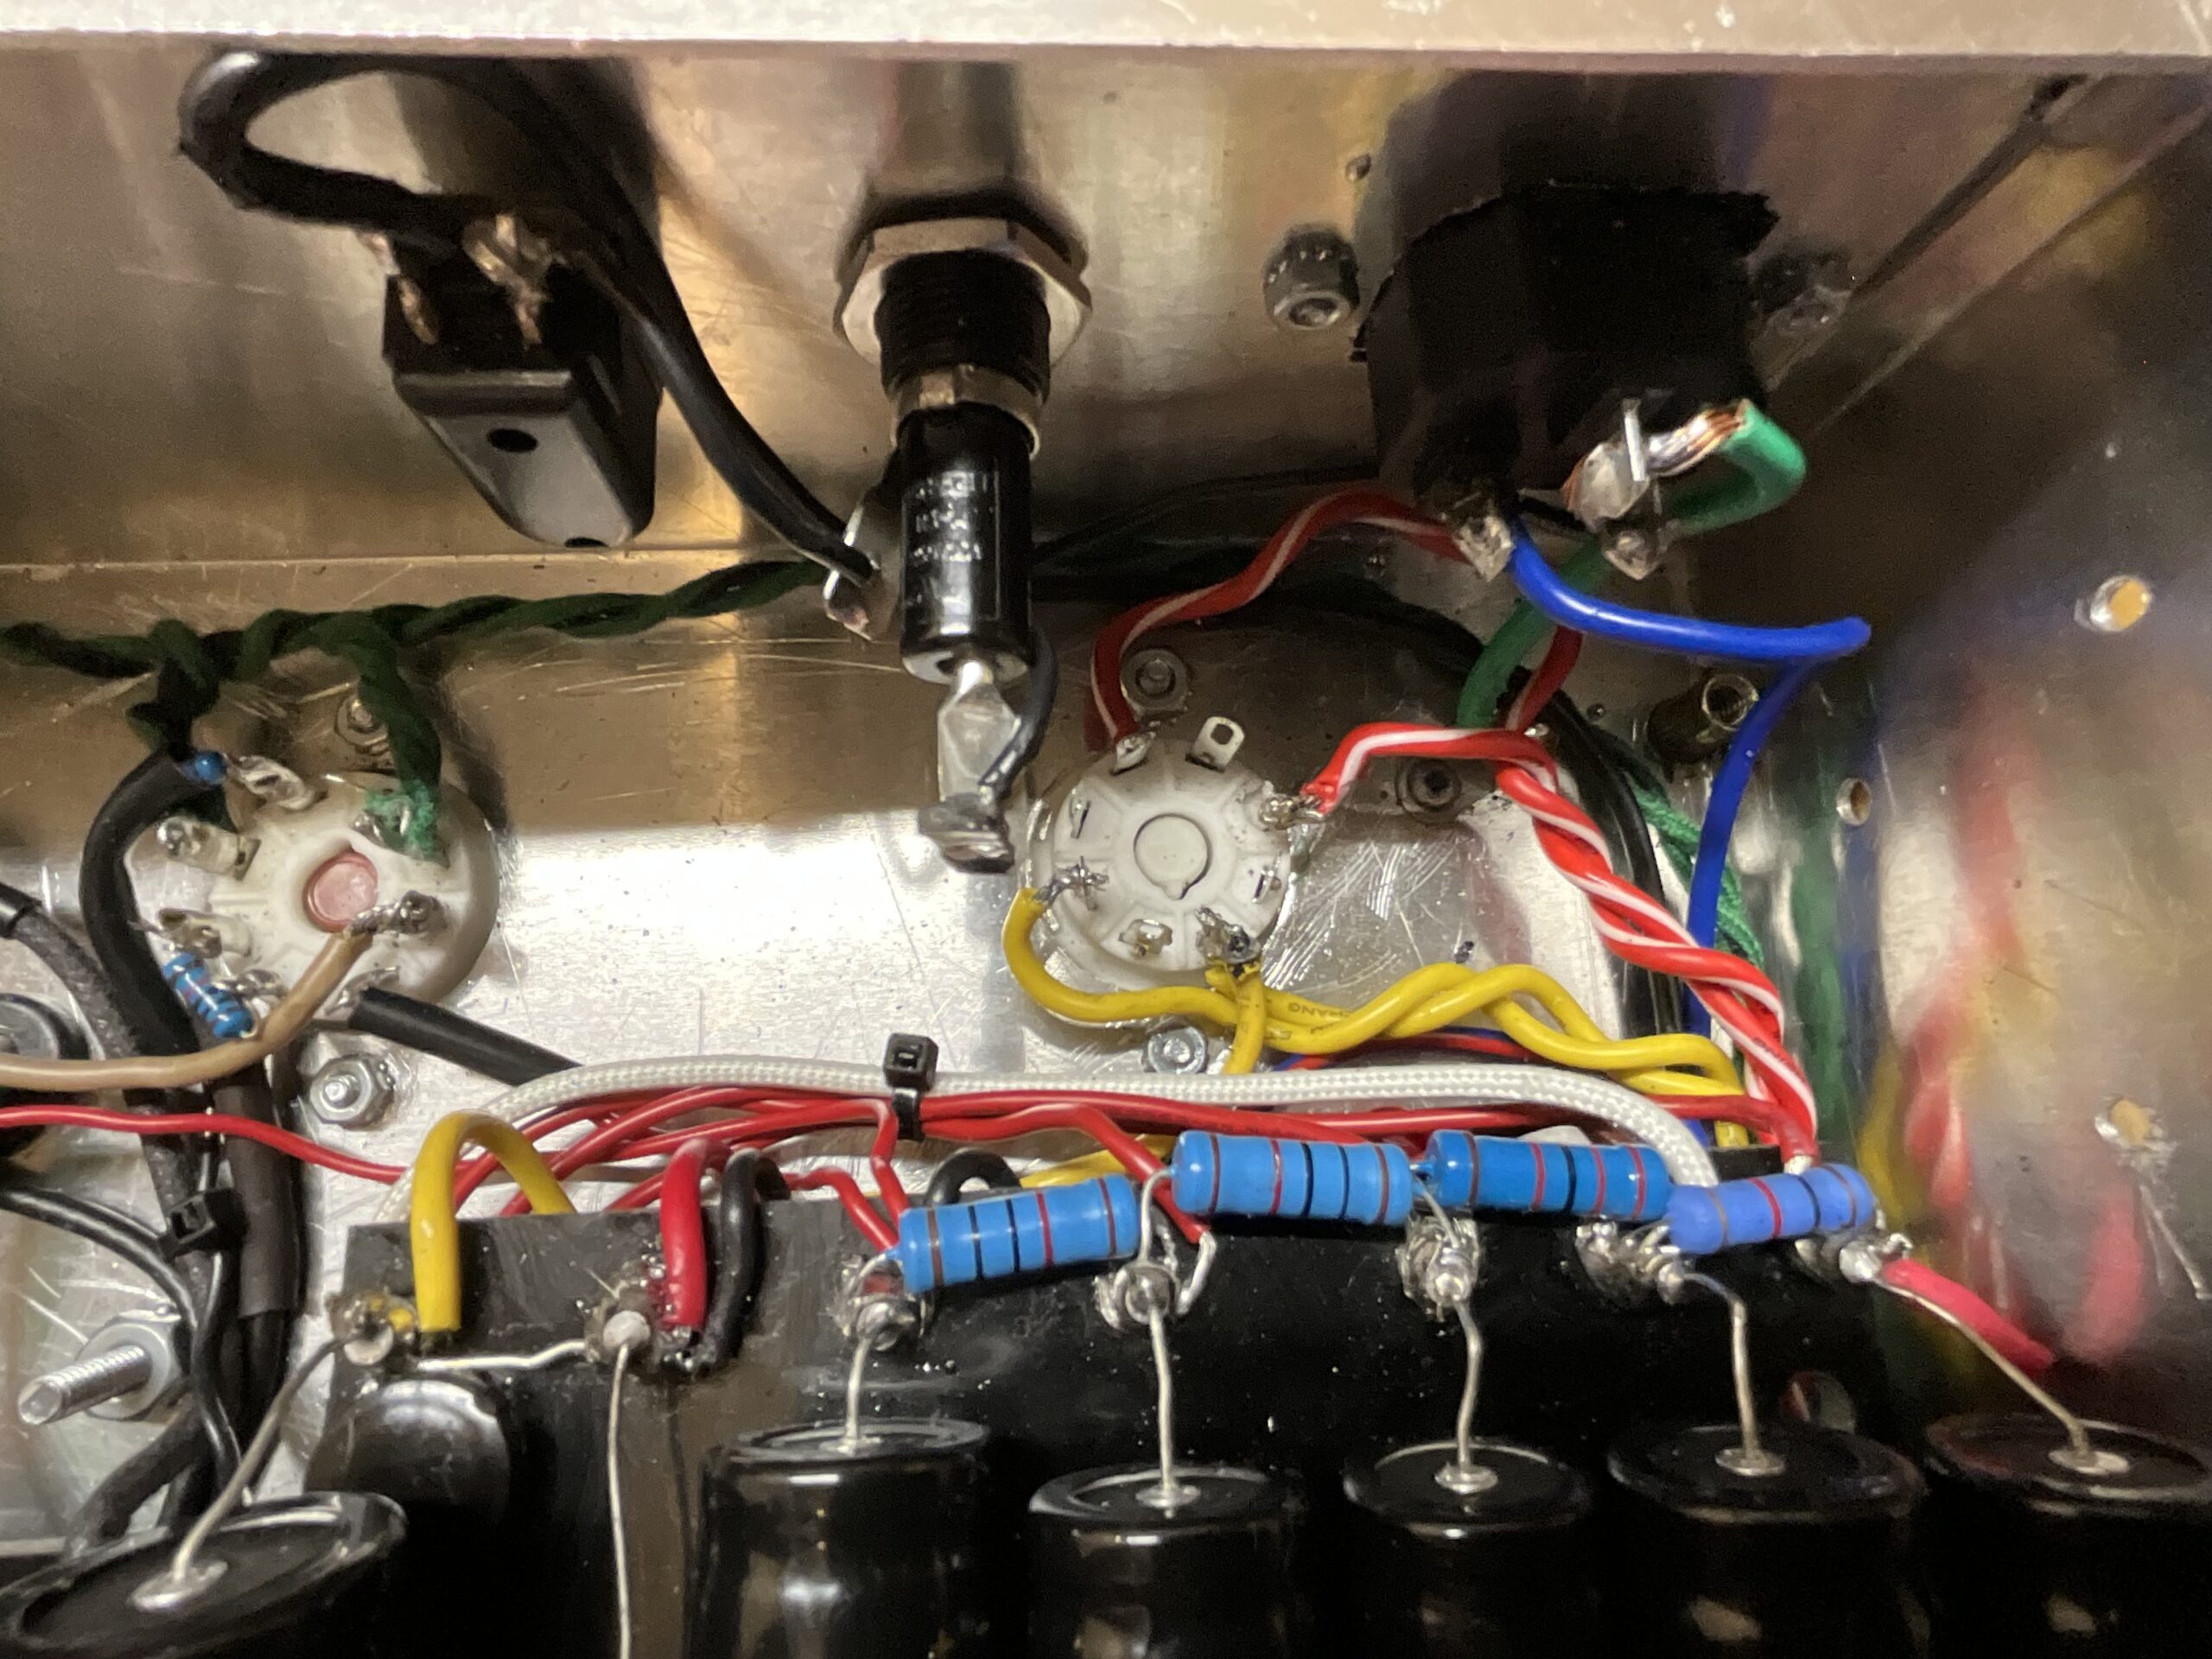
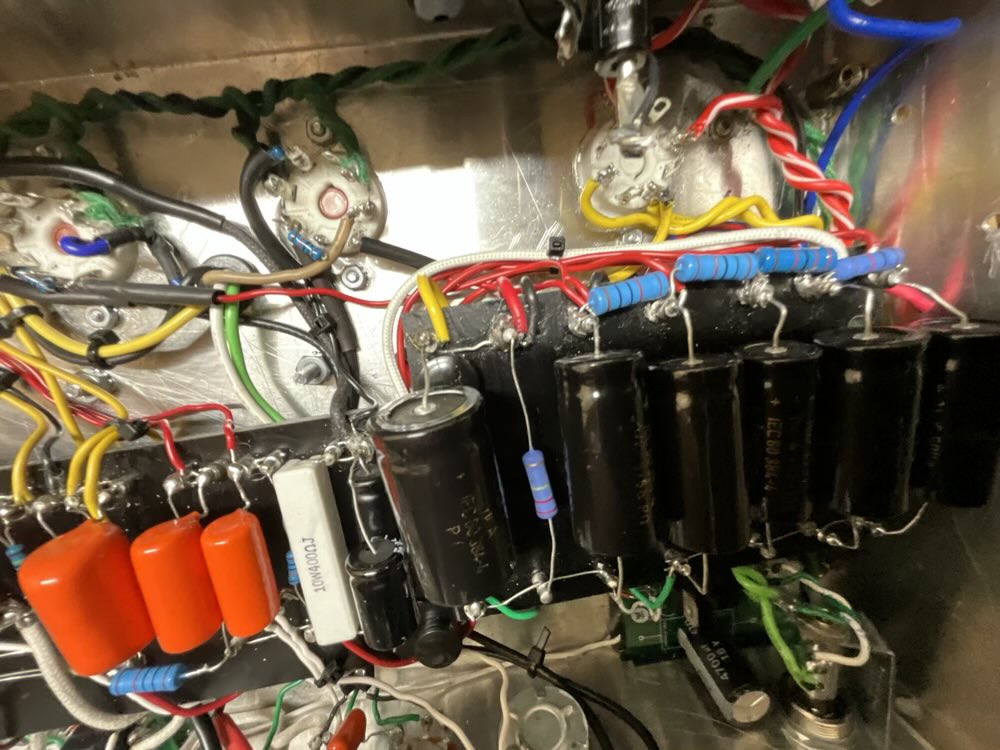
This is the Tweed Overdrive Special. It was originally designed by a few guys, “Tubenit and geezer”, on the EL34world forum like 15-20 years ago. At the designs core it is a kind of cathode biased D*mble OD special but with a lot of important differences. It has Two Single pot tweed tone stacks. The Clean Channels Tone Pot is active on both channels, as is the depth pot. The Depth Pot dials in a parallel gain stage which adds a lot of low mid hair, it feels a lot like a tube overdrive pedal, or at least what the ones I’ve tried are attempting to sound like. It also has a Pentode “5879” tube in the overdrive channel.
From what i remember the amp was an attempt to make an amp that had both clean and lead channels that were great. I had never played an amp that achieved this well, until now. While Tweaking the OD channel and not happy with it i still used the clean channel over every other amp i own. Now that i have the OD channel dialed in better i can safely say both channels are completely able to stand on their own.
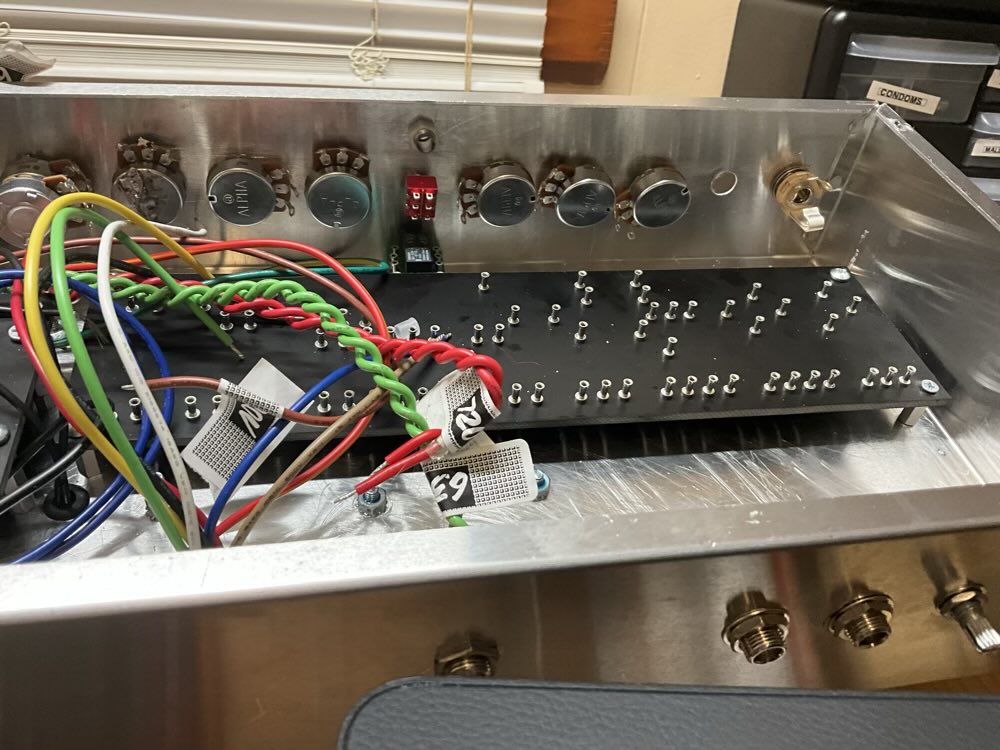
This is a unique amp. The design is extremely innovative but can also be confusing at first. The clean channel has a tone, gain, and level adjustment as well as the depth pot. The OD channel has pre-gain, post-gain, tone, and on the back an OD trim pot. The gain, tone, and depth control on the clean channel also effect the od channel.
Then we have the PPIMV or VVR, I have a VVR in mine right now and do like it. I want to take it out at some point and try the PPIMV again because when i tried mine i had other issues and the amp wasn’t what it is now.
i think all in all i spent about 4-6 months on this build, though it is still not complete. Im almost finished with a face plate, “Always make a faceplate before everything else” Im also using this circuit as a learning device while tweaking the OD channel. I never learned much algebra in school so i’m having to teach myself. Therefore it is important for me to see the changes in real time as they are made in correlation to the math. My Tos is changing every day, at least the OD channel is, The clean channel i want to stay exactly like it is. Ill post updates as i find cool sounds.
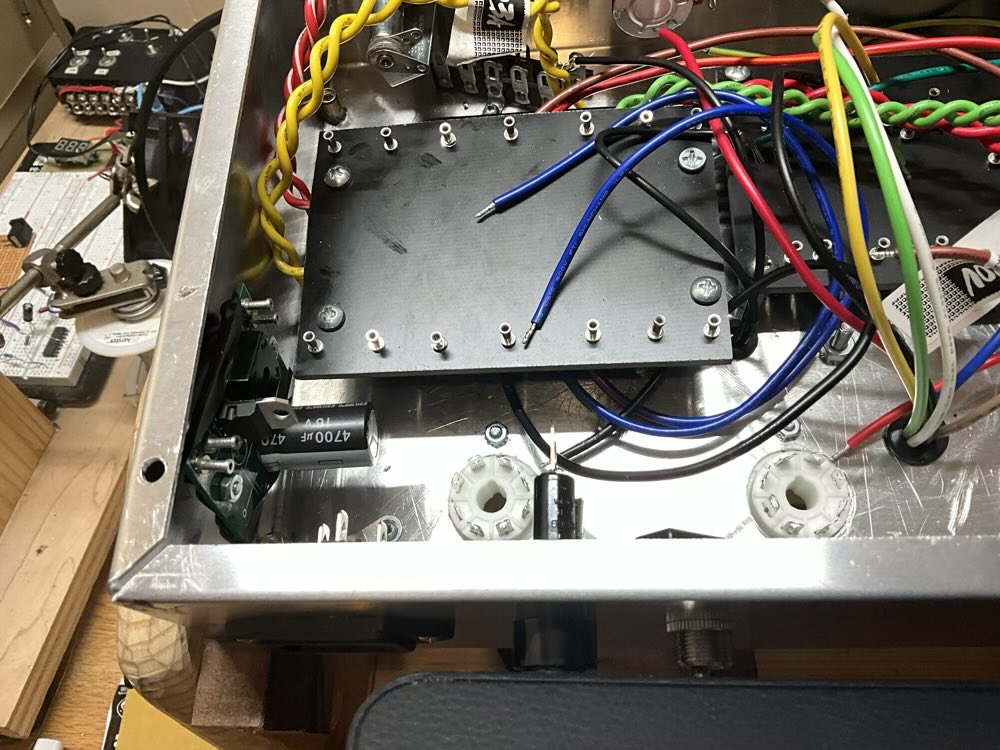
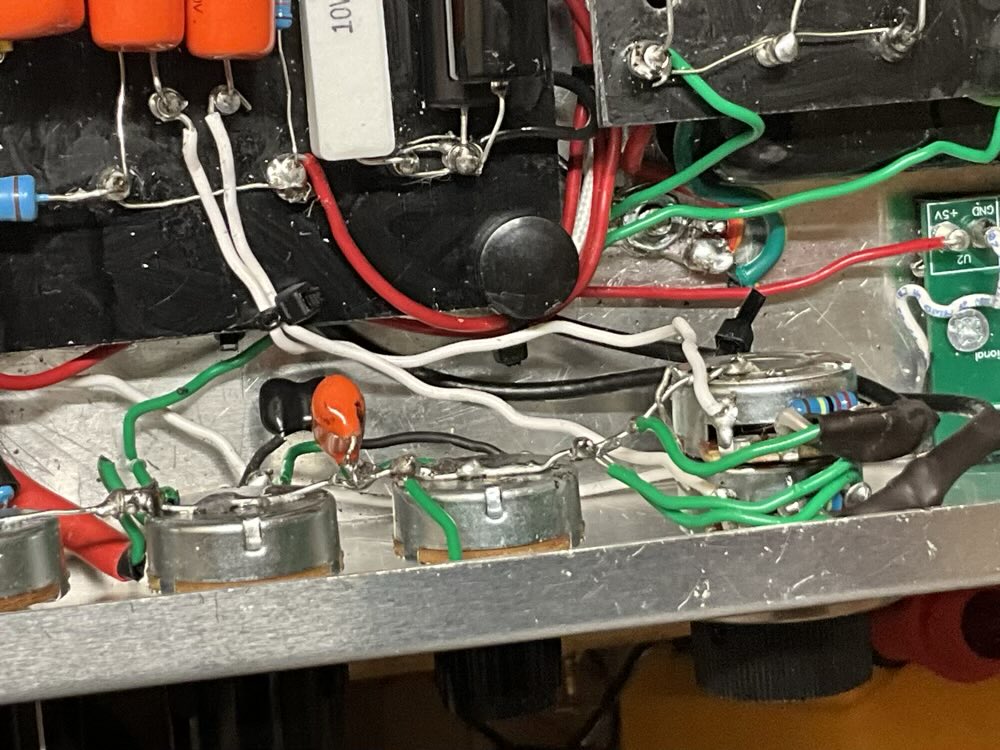
When i first completed the build and fired it up with a scope attached to the output the wave form would exponentially go up in amplitude and start crying. I couldn’t figure it out. I tore the relay out and replaced it with a DPDT switch. No luck. Then i untwisted the phase inverter wires and cleaned up some stuff. Still, no luck. Then i replaced the MV pot, the od pot on the back and changed their tapers. Still no dice.
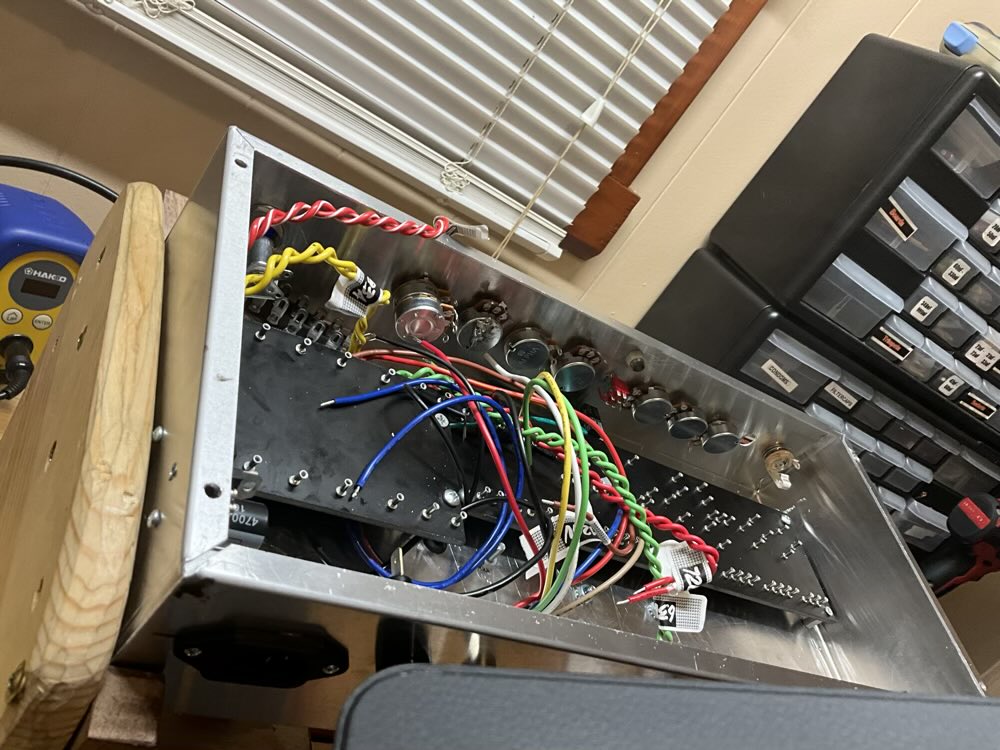
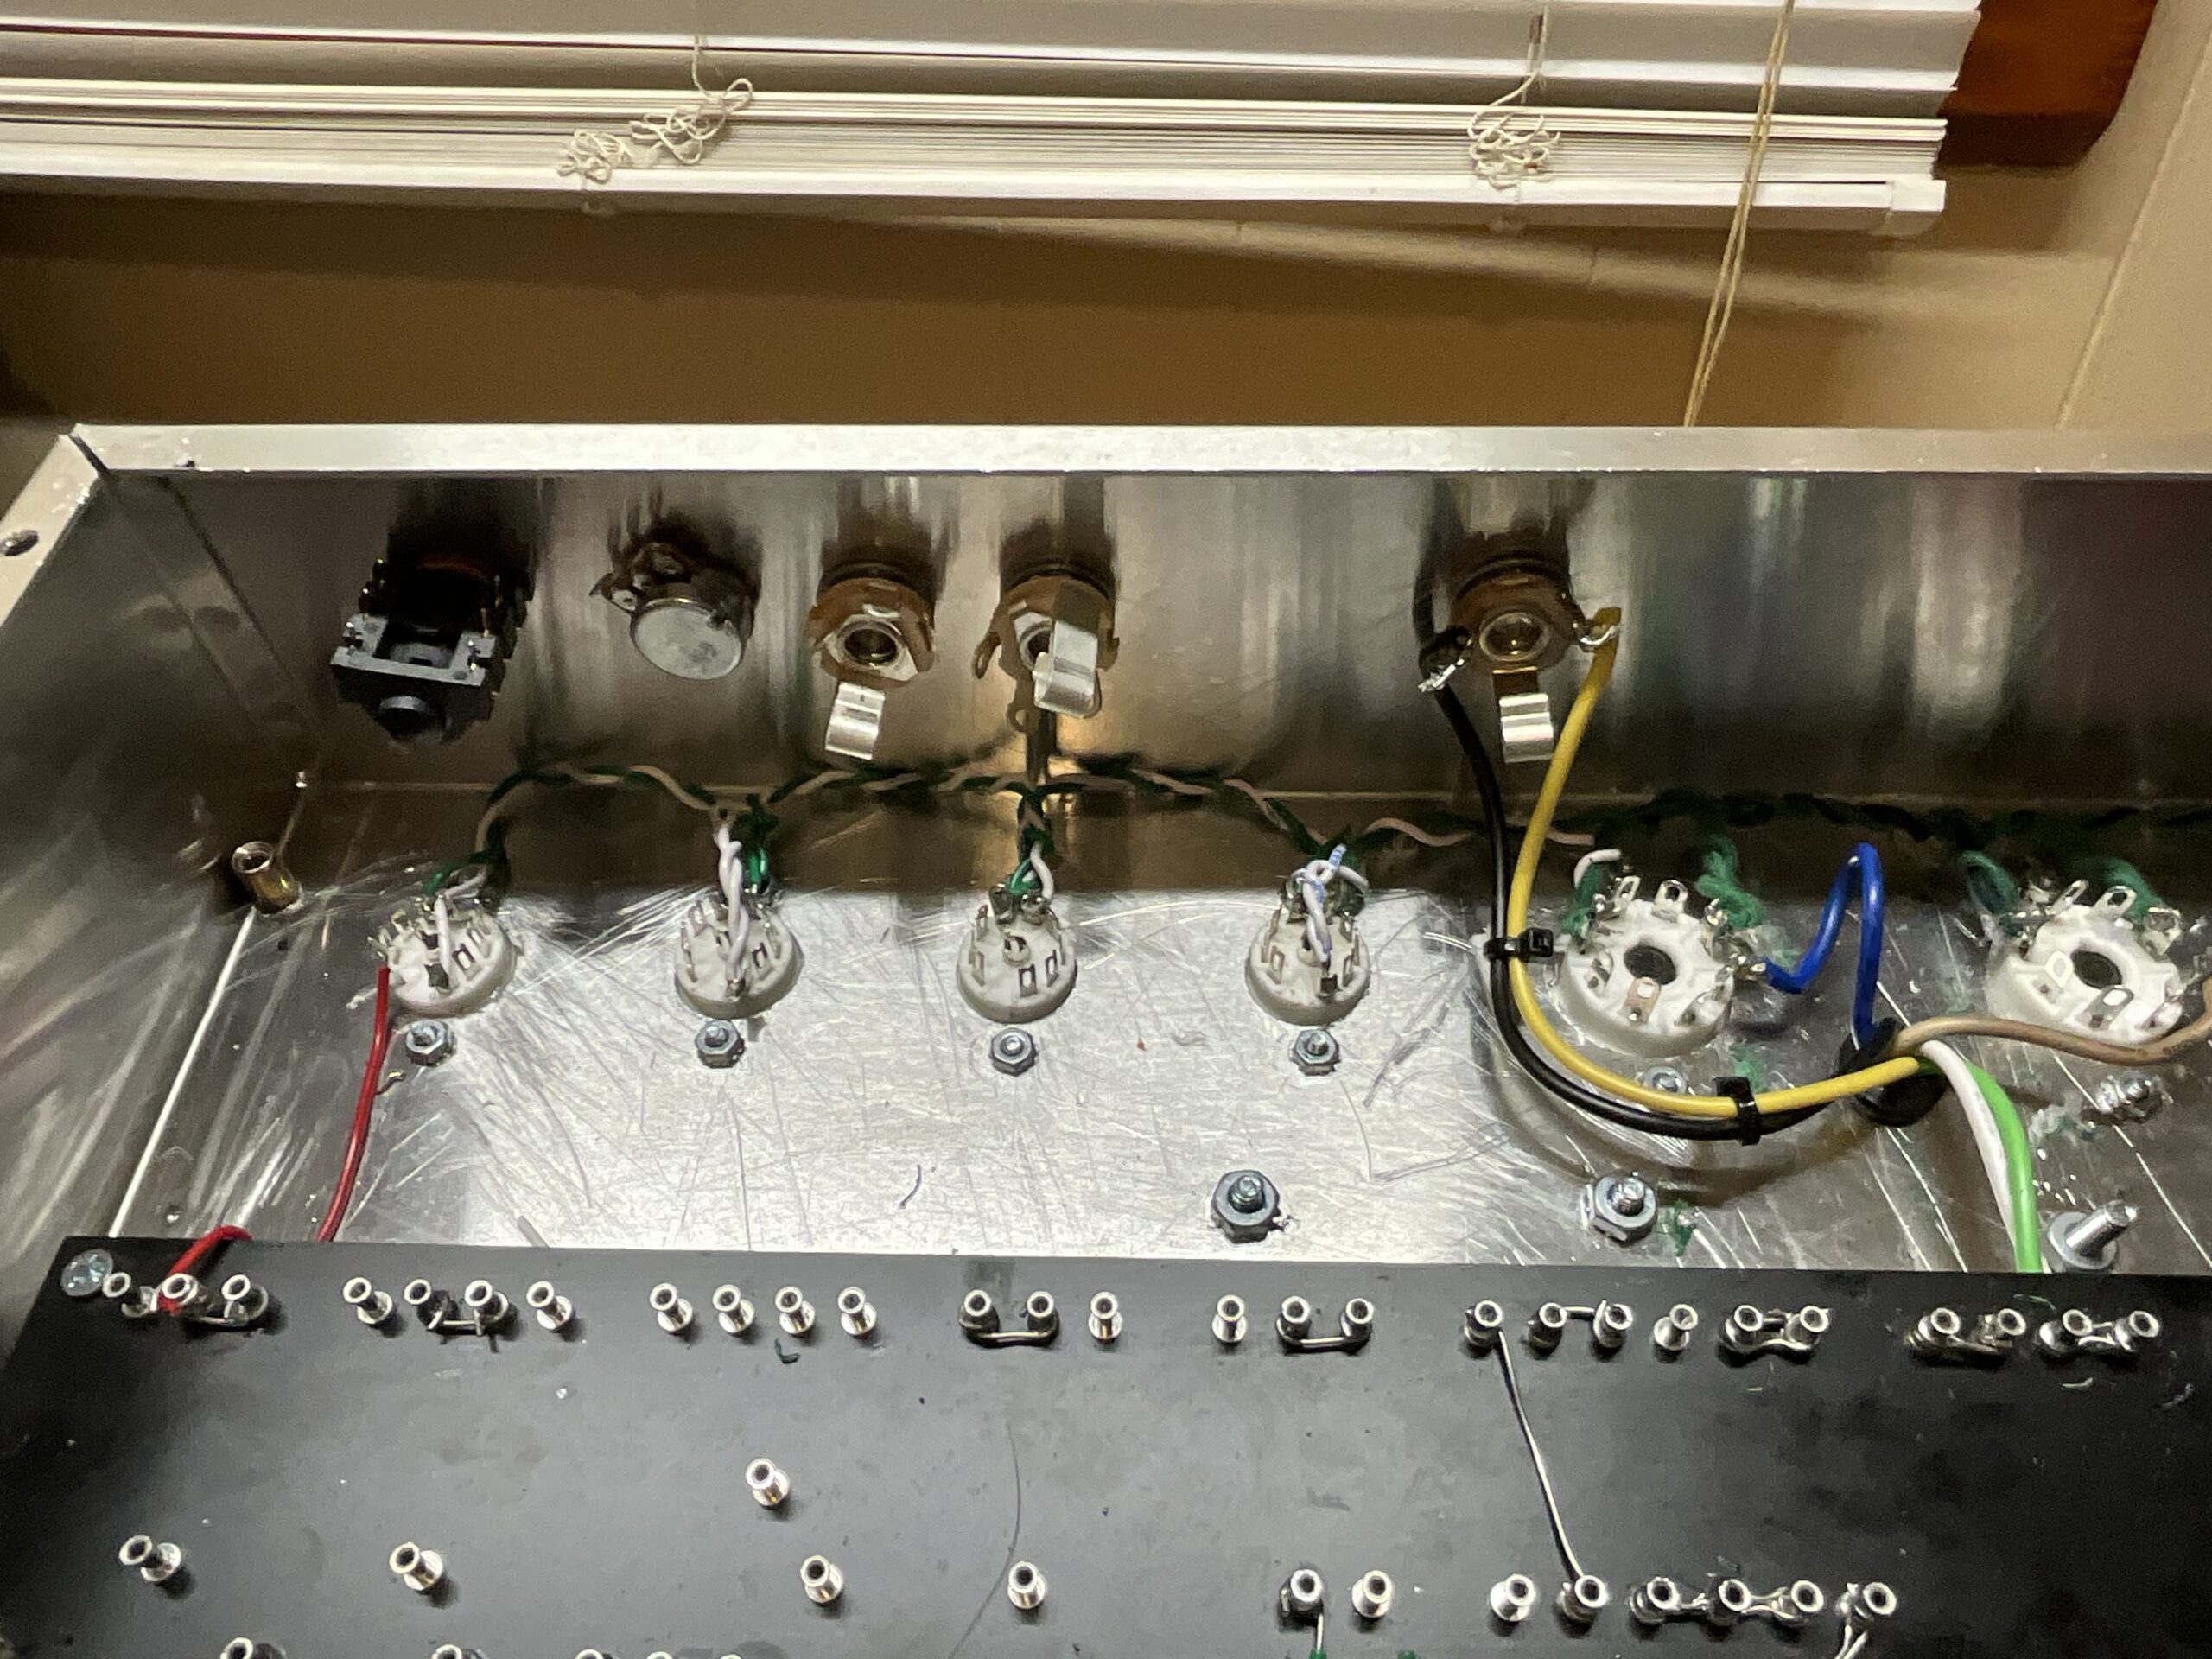
Come to find out my dumbass wired all the pots backwards and when i thought they were all on 0 they were maxed out. I plan to mount this one tubes pointing down for the first time and for some reason thought they needed flipped. In all of the time i spent on this reading textbooks and researching obsessively i completely missed the most basic thing. Lesson learned.
update*
The amp was running way too hot and the 5881s plates were over 400V so i had to raise the cathode resister value to 500R. ***Update – Now a 470R cathode bias resister.
Now with the VVR and the tubes running as they should the amp sounds incredible. I’m sure the MV would’ve been fine if everything else was right but for now ill leave it in, although the entire fate of the amp resting in one tiny nut seems irresponsible.
The cabinet is a simple one this time. No ebony or other exotics here. Its just birch plywood wrapped in marine vinyl. My first go at it ended up a disaster. I had to rip all of it off and start again. I hate contact cement.
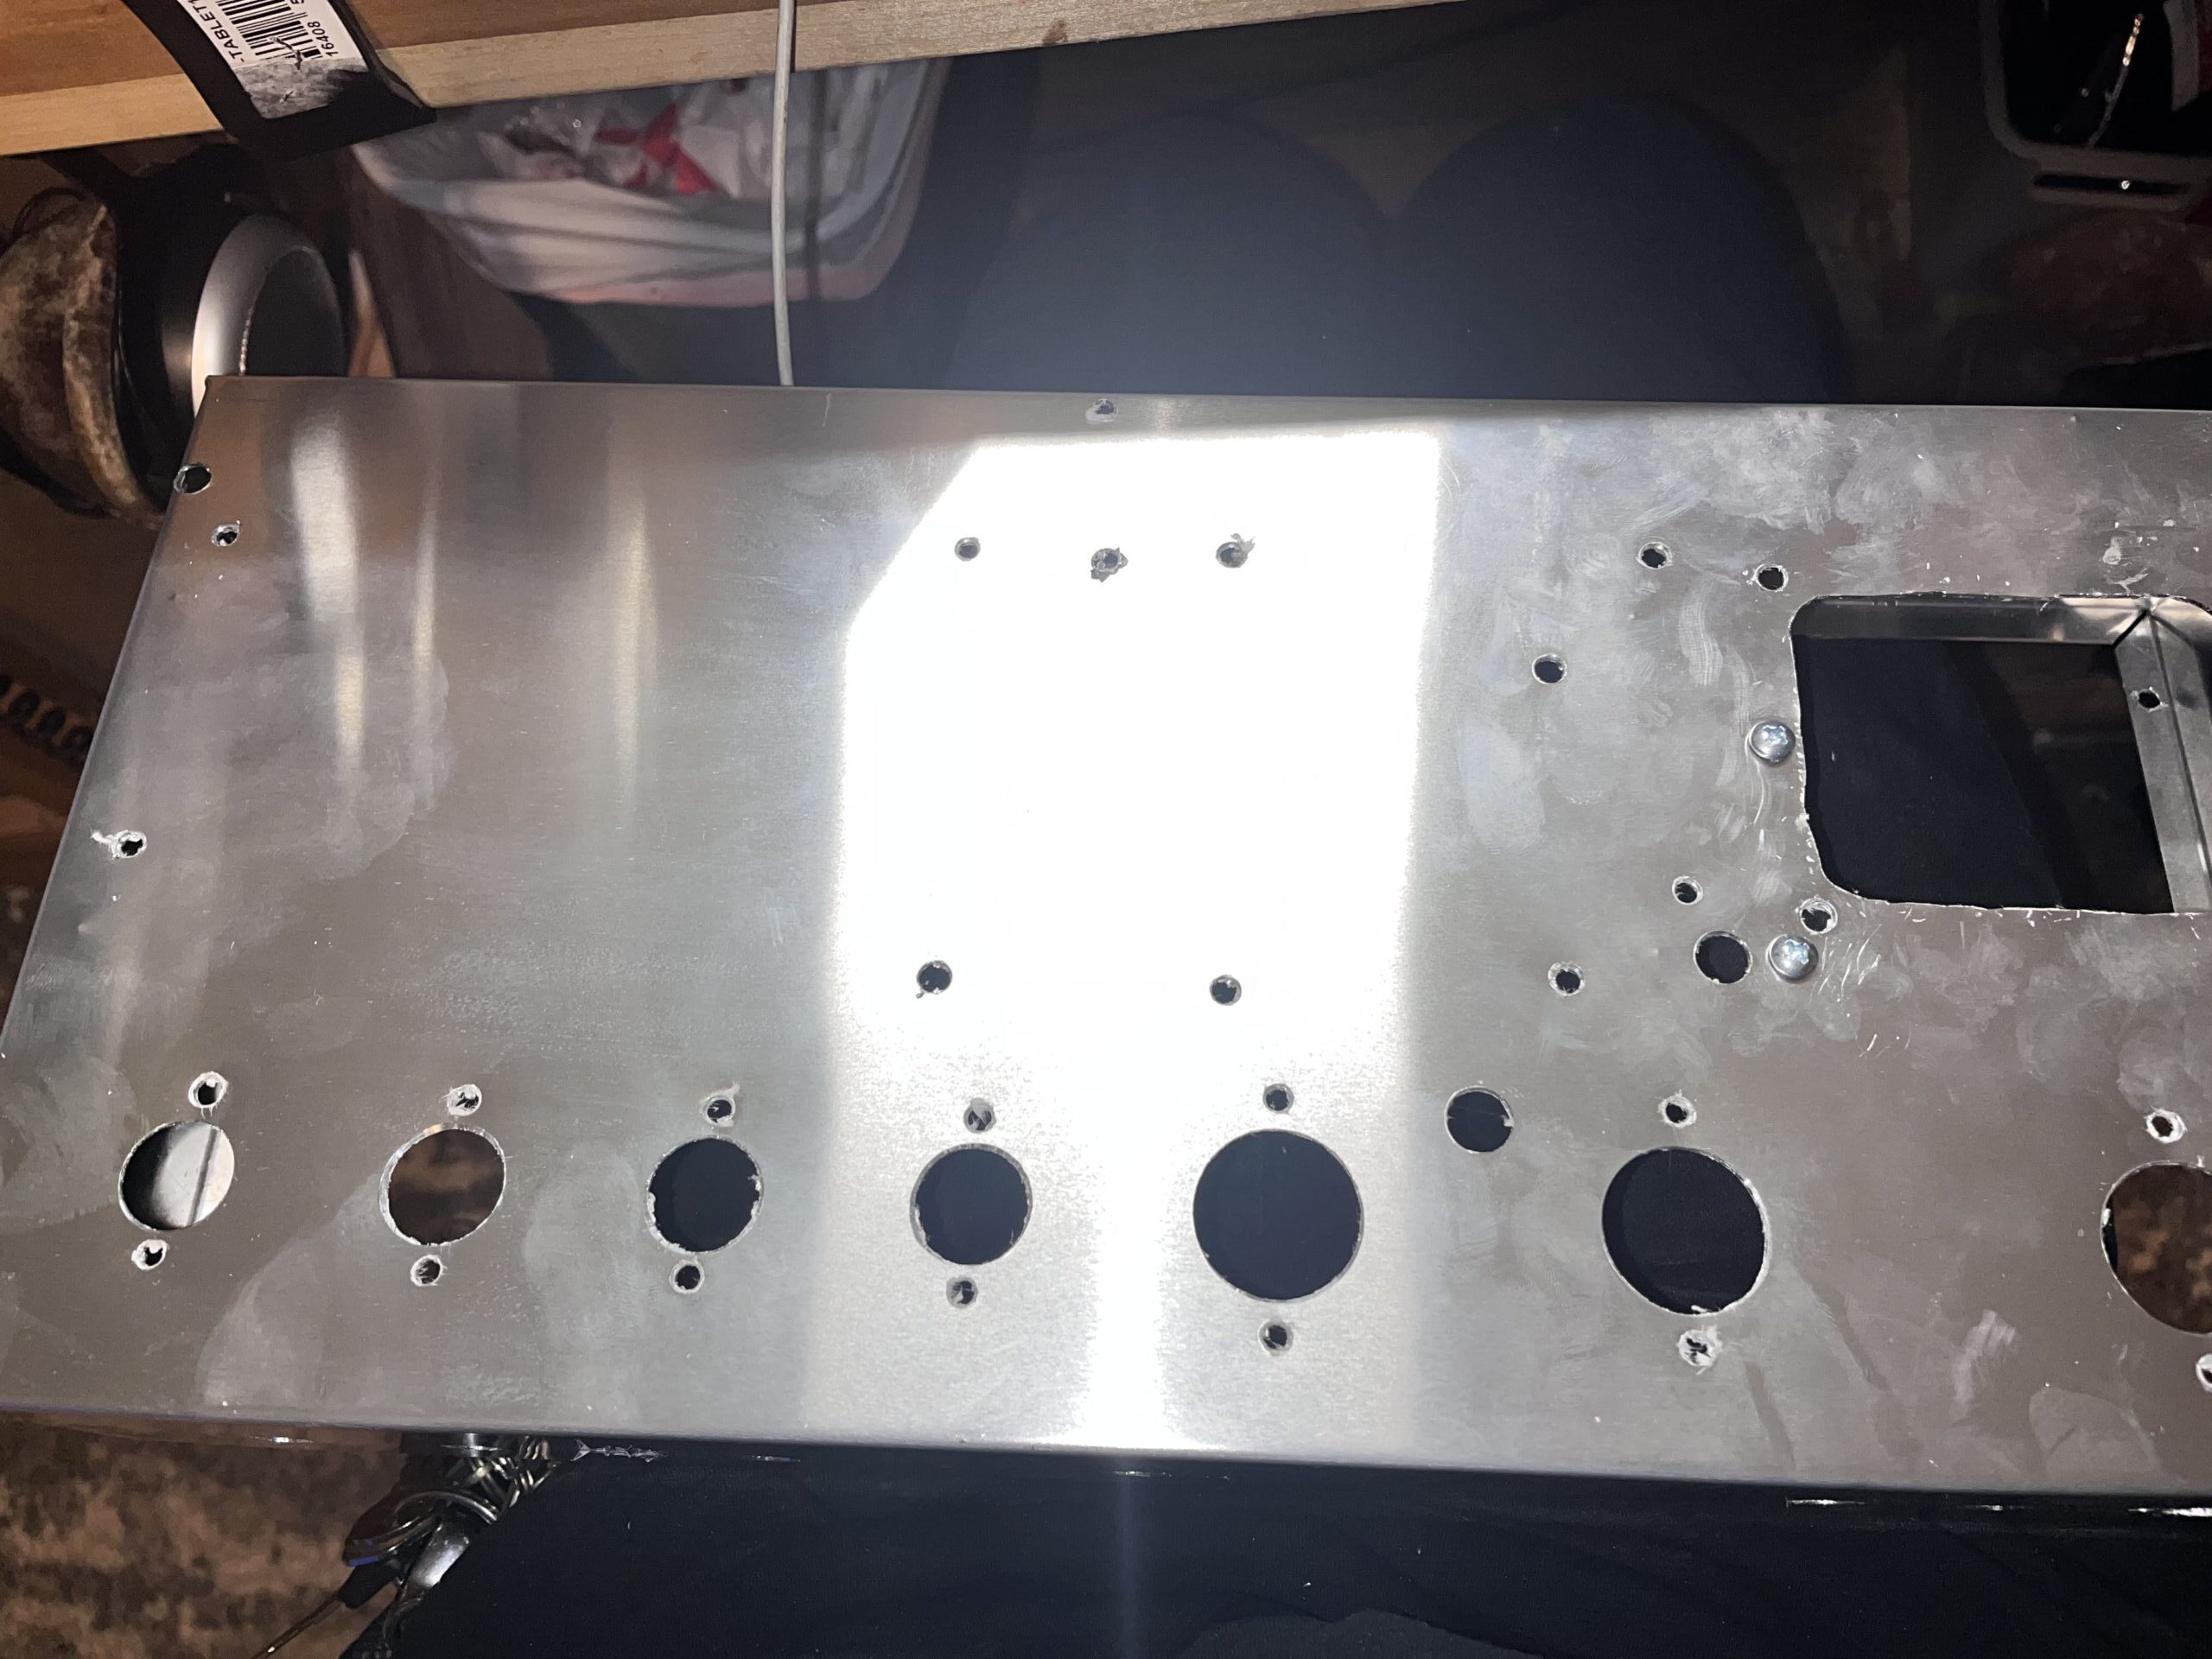
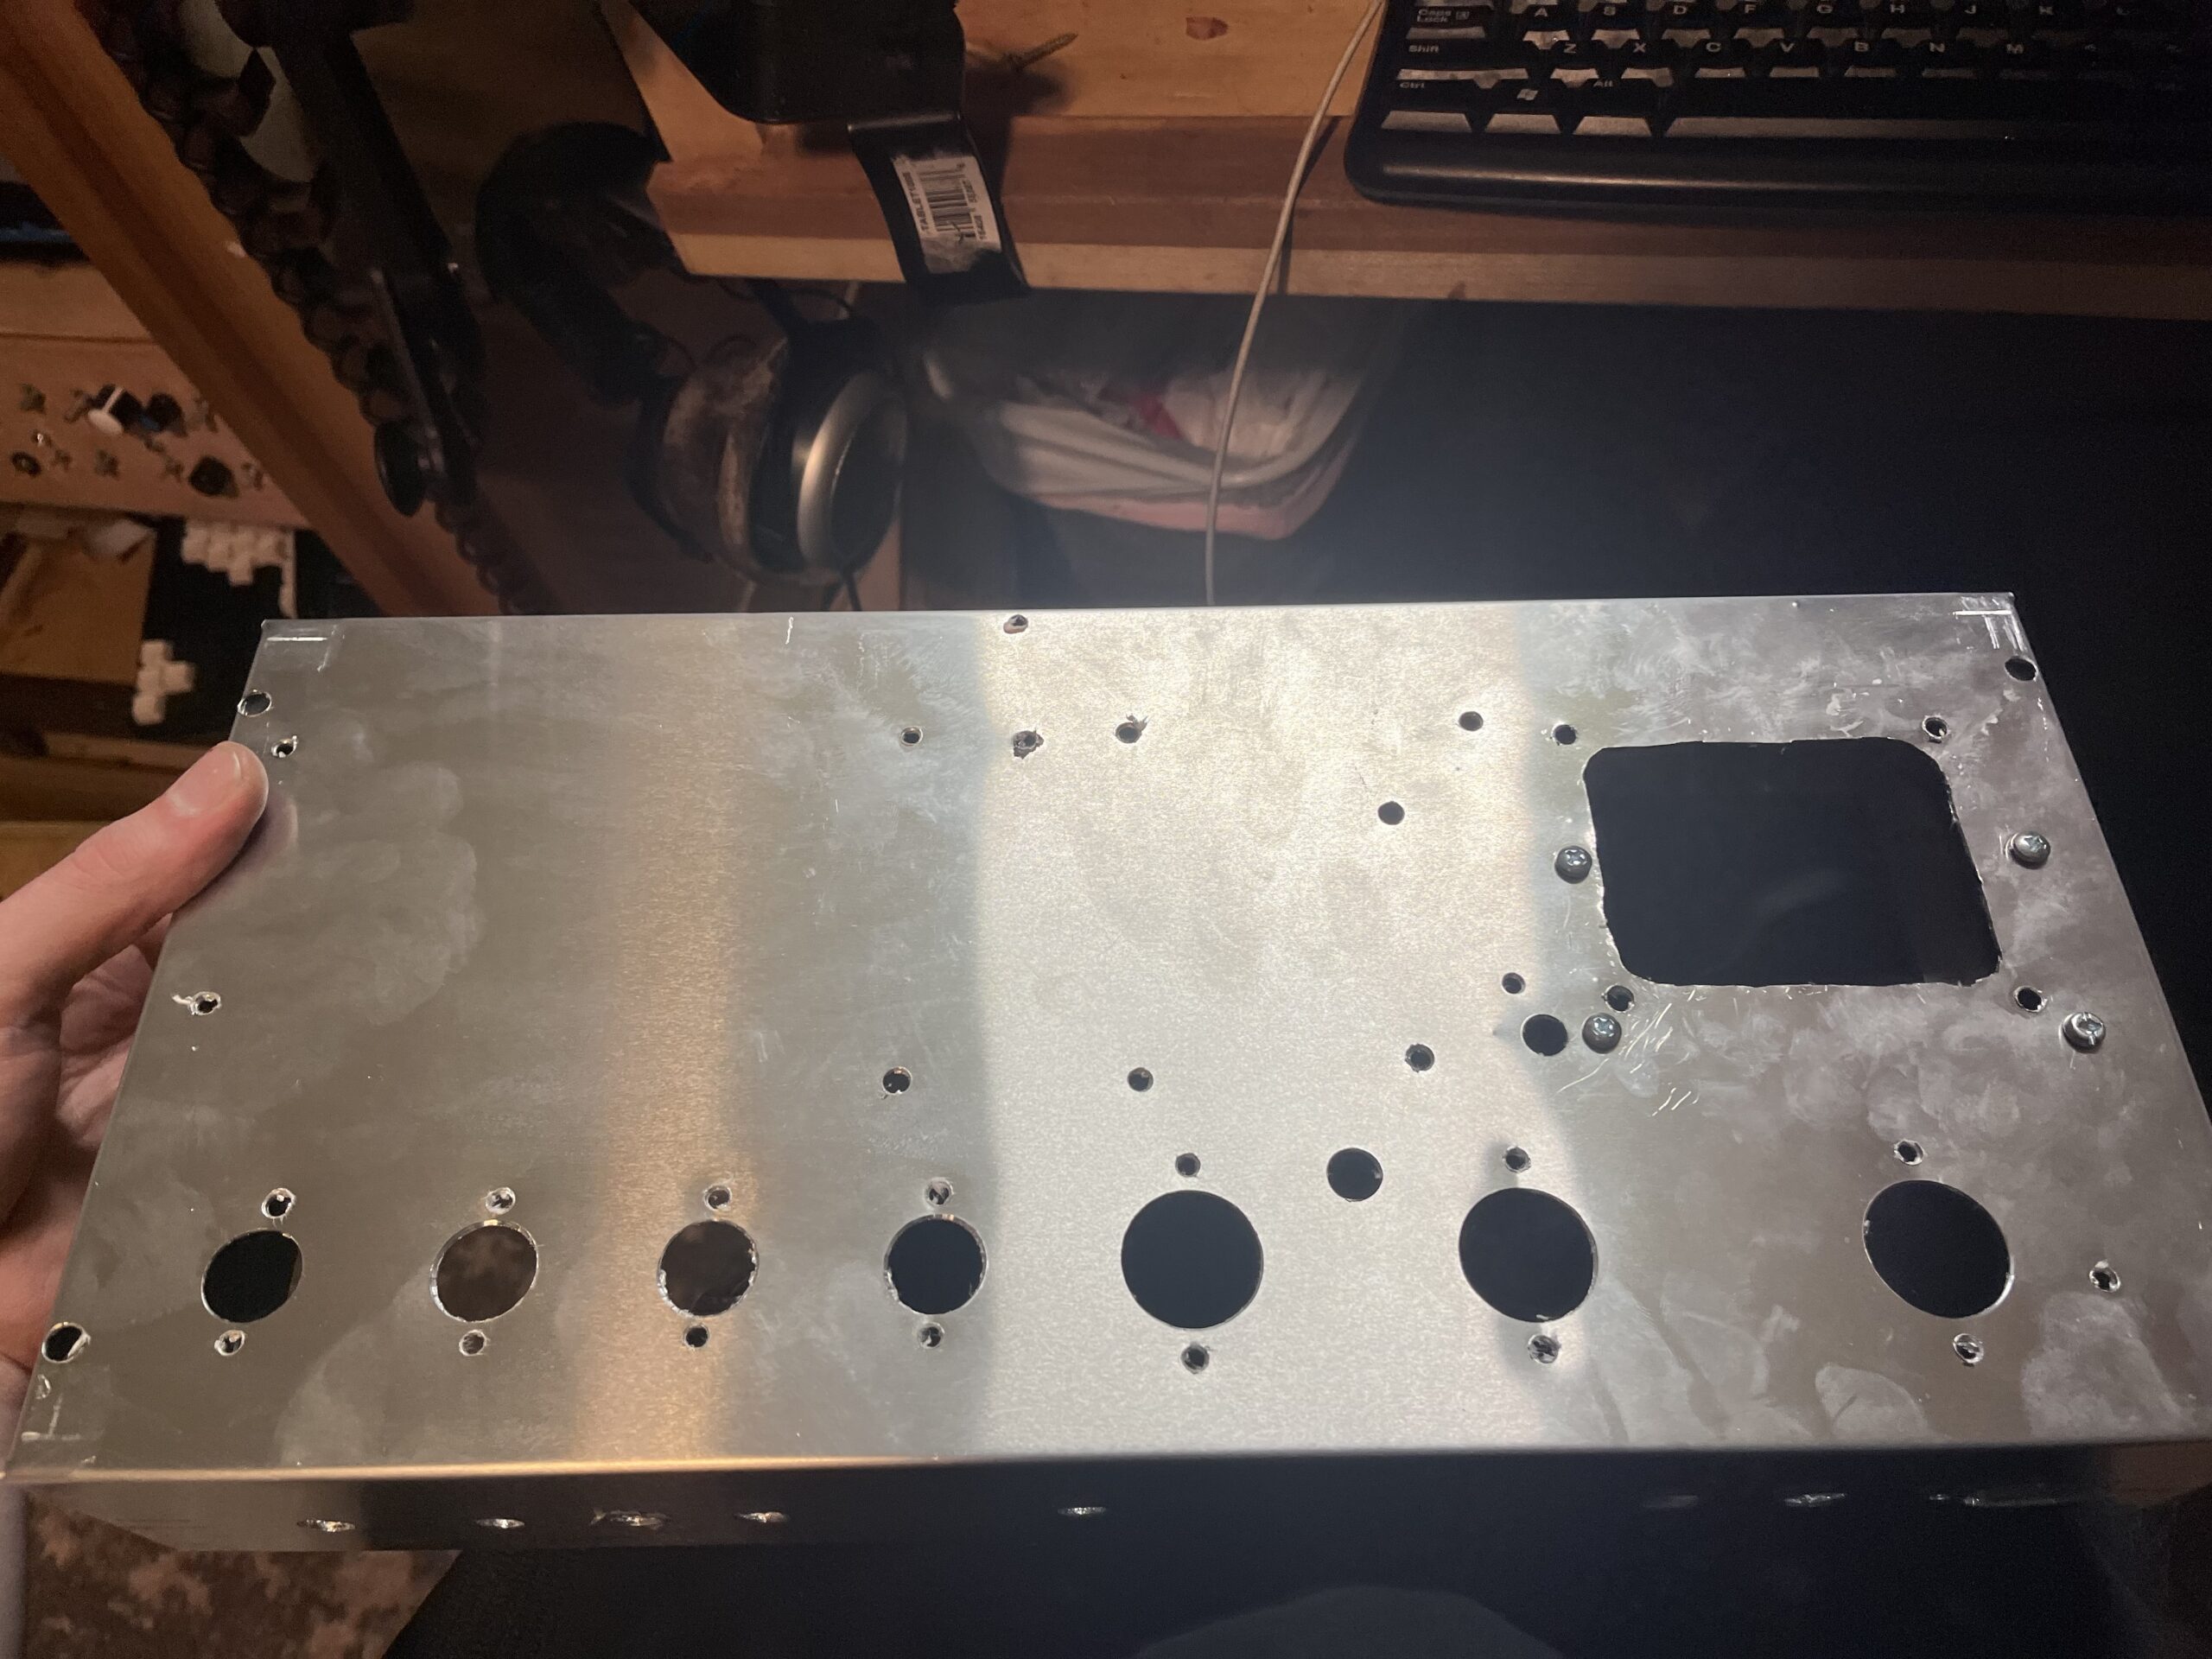
I’m still trying to figure out a face plate, that has been the most annoying part of amp building to me. Everything else i can do myself but the damn labels are not easy to figure out. I bought 16 gauge steel, Cut it with a Hammer, chisel, and a hacksaw (Fuck me). I then Made a paper template for the holes, that was off so i made a few more, then i made a plywood template. I Drilled the holes, painted it and checked its fit. OFF!!!! Damnit! All of my holes are wonky on the amp. even with a drill press i couldn’t get them right.
I bought another piece of steel, this time 18 gauge, Maybe i can get it this time. I made 3d models of all of the labels i need and sent them to a friend who is printing me stencils for the lettering, wish me luck.
